Aria Knowledge Central

Statements Overview

Overview

The Statements screen displays all statements for an account or, optionally, for a particular master plan instance.

A statement is a collection of transactions that can be generated automatically or on-demand. Statements are automatically generated after the nightly invoicing is completed and are immediately sent to customers who are set up to receive the statement. Statements can also be generated after an immediate invoice generation.

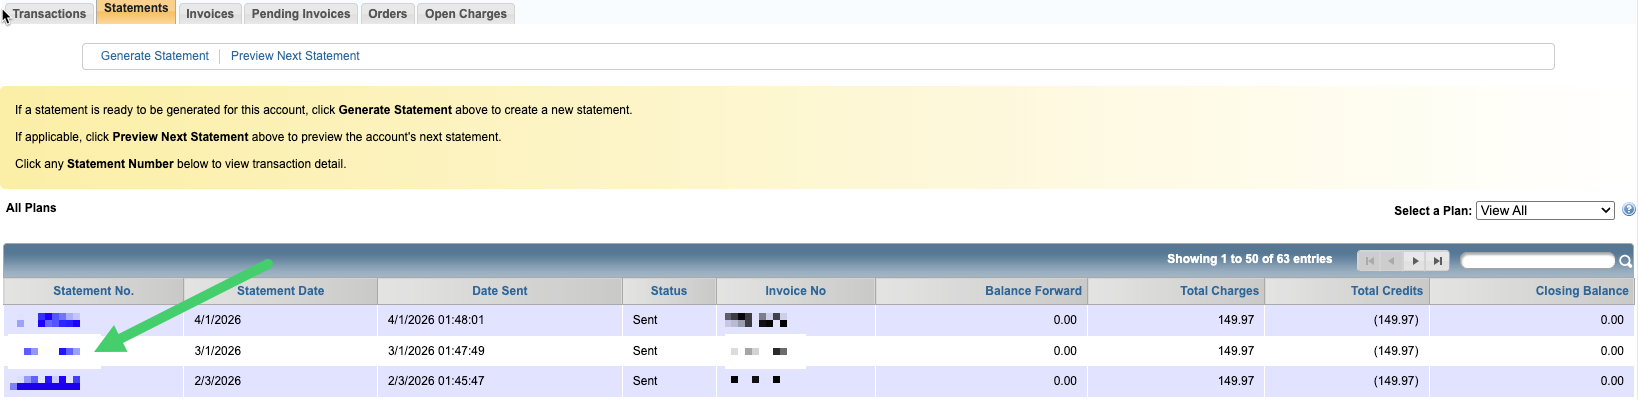
Clicking a specific statement number displays the Transactions screen, providing an overview of all transactions that are included in the statement, as well as the option to view individual transaction details.

Statements Screen

Getting Here: Click Accounts > search for an account > Statements & Invoices > Statements

The screenshot below highlights important elements of the Statements screen, followed by a description of each.
Statements_2_Columns_v4_0223.png

  1. Generate Statement: Quickly generate a new statement if an invoice exists for the billing group to which the selected Master Plan Instance belongs, and the statement is ready to be generated.
  1. Preview Next Statement: If applicable, preview the account's next statement, which simulates future charges. The actual statement may or may not be the same once the final statement is generated.
  1. Select a Plan: Choose an Master Plan Instance from the Select a Plan drop-down to filter the list of statements. The View All default option displays all statements for all Master Plan Instances on the account.
  1. View Statement Details: View the transactions that make up a specific statement, as well as the account balance, by clicking the corresponding statement number link.

If you are configured to receive XML Statements, the XML Statement No. will appear next to the Statement No. column.

Notes:

  1. The XML Statement Distillation setting must be configured to receive XML statements (Configuration > Notifications > Notification Settings).
  2. In case there is more than one XML statement for a given statement number, the latest XML statement will be returned.

To generate an on-demand statement, click the blue hyperlink under the Statement No. column at the Statements tab as shown:
Statements_Hyperlink_Button_v1_0223.png

This takes you to the Transactions tab. Press the Send Statement button as shown.
Trans_Statement_v4_0223.png

All statements, whether sent or not sent previously, can be sent through this option.

A statement can be sent to the account's billing contact Email address, as well as to any additional Email addresses also configured to receive statements.

Note: The Status column shown in the above Statements grid contains either the Sent or Not Sent values. If the status is Sent, the Date Sent column contains the most recent date that the statement is sent (or resent) to the customer.

  • Was this article helpful?