
System Properties
System properties let you set client-level defaults that Allegro applies across the UI and during processing. Properties are organized by category.
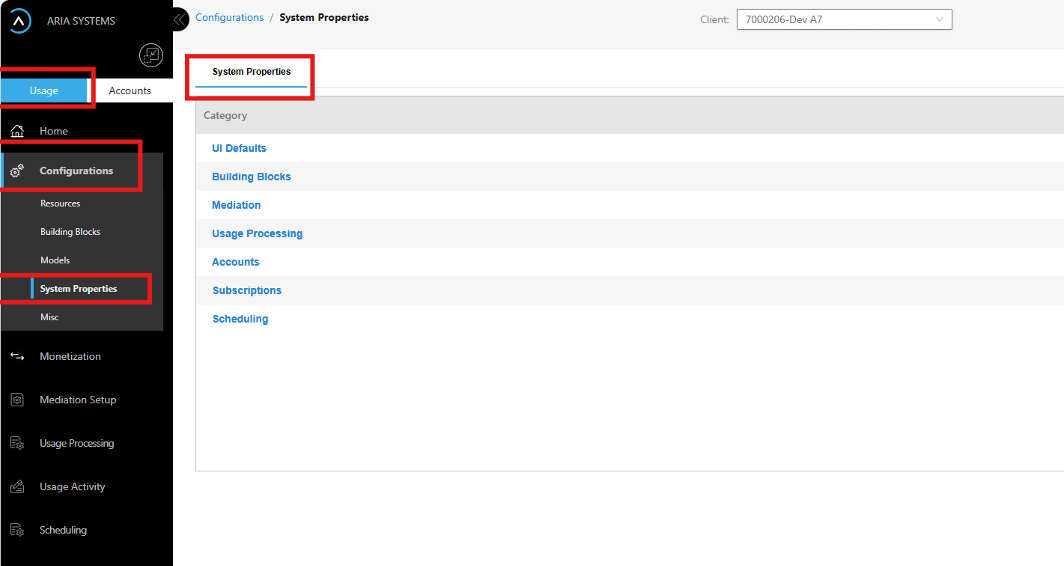
View system properties
- Click the Usage toggle in the navigation pane.
- Click Configurations to expand the sub-menu.
- Click System Properties. The activity pane displays a table of property categories.
- Click a category ID link to open the drawer listing all properties in that category.
UI Defaults
These properties control the default display behavior across the Allegro UI.
| Property | Description |
|---|---|
| Main Table Style | Sets the default style for the main table in the activity pane. Select Cozy or Compact. |
| Drawer Fields Style | Sets the default style for drawer fields in the activity pane. Select Cozy or Compact. |
| Drawer Table Style | Sets the default style for drawer tables in the activity pane. Select Cozy or Compact. |
| Multi Search Enabled | Select True to enable searches using multiple filter attributes simultaneously, or False for single-attribute searches. |
| Default Page Size | Sets the default number of rows returned per search across all screens. |
| Default Download Size | Sets the default download size for exported files. Files in the 200K–250K range are recommended for optimal performance. |
Building Blocks
These properties set the default values for building block fields throughout the UI, reducing repetitive selection when adding configurations.
| Property | Description |
|---|---|
| Default Currency | Sets the default currency selection in the UI from the client's configured currencies. |
| Default Service Type | Sets the default service type selection from the client's configured list. |
| Default Usage Record Type | Sets the default usage record type. POSTPAID indicates that Allegro performs postpaid rating. |
| Default Unit | Sets the default unit of measure the UI uses where required. |
| Default Transaction Type | Sets the default transaction type. Typically USAGE. |
| Default Rounding Method | Sets the default rounding method applied automatically when adding currency, accumulator, or allowance resources. HALF_UP is recommended. |
| Rounding Precision | Sets the default decimal precision applied automatically when adding currency, accumulator, or allowance resources. |
| Purchase Proration | Sets the default purchase proration behavior for recurring charges involving accumulators and allowances when a customer purchases a plan. |
| Cancel Proration | Sets the default cancel proration behavior for recurring charges involving accumulators and allowances when a customer cancels a plan. |
Accounts
| Property | Description |
|---|---|
| Default Billing DOM | Sets the default anniversary date for billing accounts. |
| Drawer Billing Frequency | Sets the default billing frequency. MONTHLY is the default for monthly billing. |
| Default Contact Role | Sets the default role for contacts. The billing role is required. |
| Default Address Role | Sets the default role for addresses. The billing role is required. |
Subscriptions
| Property | Description |
|---|---|
| Default Initial Term Unit | Sets the default unit for the initial subscription term. For example, select YEARS for a multi-year term. |
| Default Initial Term Frequency | Sets the default length of the initial subscription term. For example, enter 3 for a three-year term. |
| Default Renewal Term Unit | Sets the default unit for renewal subscription terms. For example, select MONTHS for monthly renewals. |
Scheduling
Scheduling properties control when Allegro processes usage and runs scheduled billing jobs for the client.
Note: Contact your Aria representative before modifying scheduling properties, as changes affect processing timing for all accounts in your deployment.